Wednesday, January 13, 2016


 Interactive Word Walls

I was sitting in a wonderful on campus training designed for the core teachers on interactive words and I realized my whole room is basically a interactive word wall and yours probably is too. In my district, students take a standardized art test in the fall and spring. The students test scores are tied to my pay, so I had to come up with ways to have information available all year long.

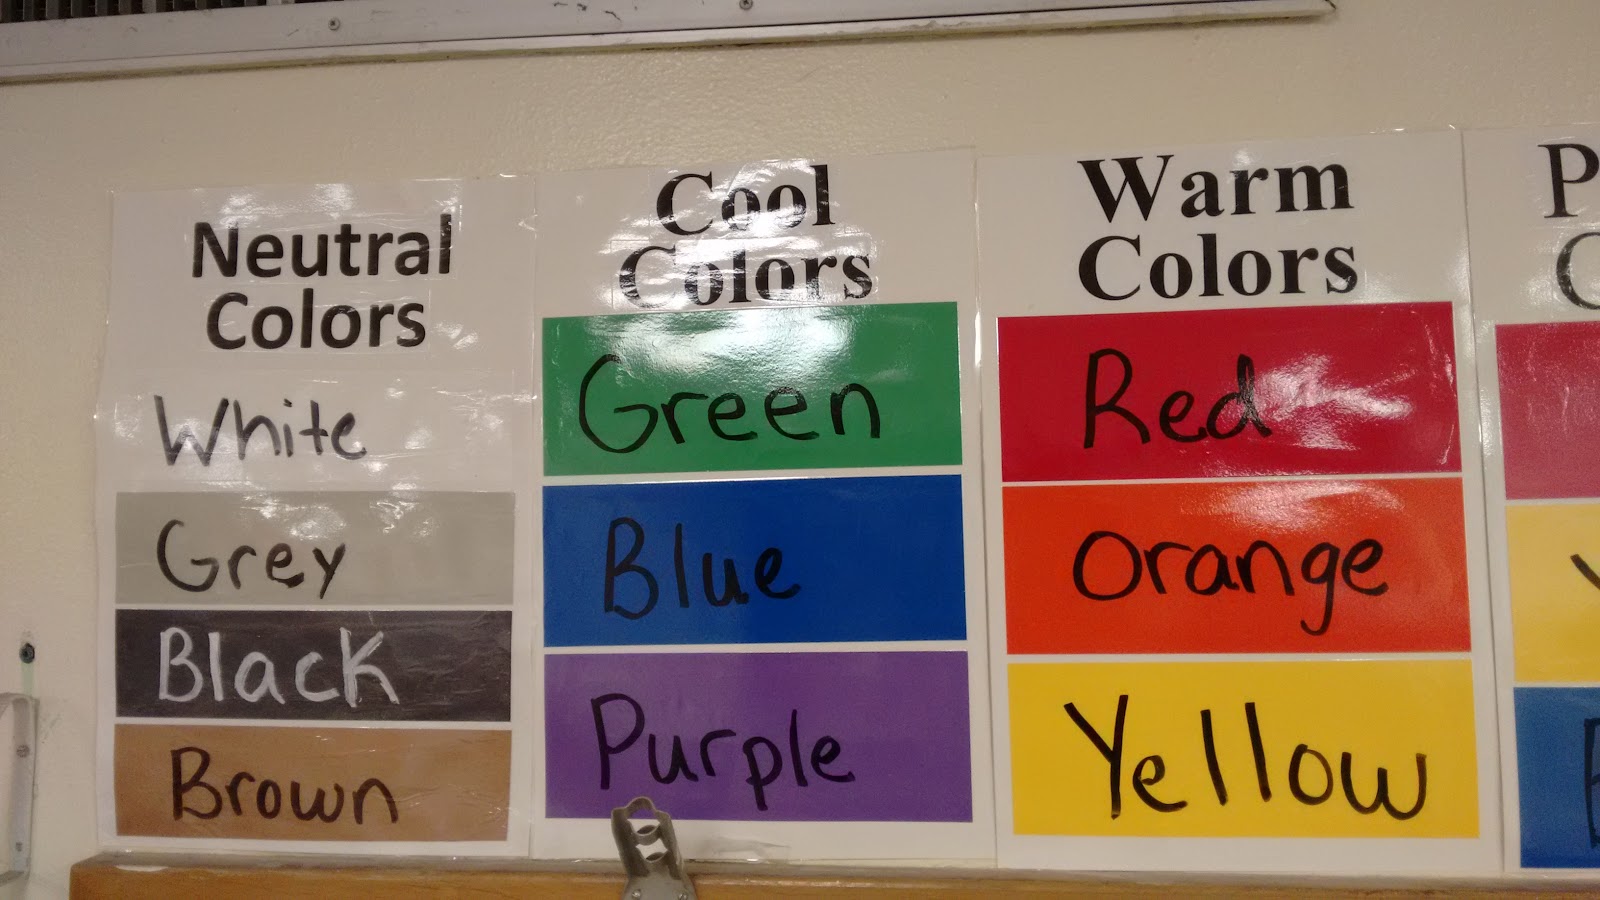
I have all the vocabulary words used through the year posted with a picture, so they can see what the word means.

Poster may be plain, their simplicity actual helps the students to access the information.

You do need have students interact with word wall. I usually pose questions about art work and students look around the room to find the academic vocabulary they need to answer the question.


Winter Landscapes

Value, tint and shade are always interesting to teach to my younger grades. They LOVE to make tints and shades with paint. For this lesson we started by looking at Picasso "le gourmet" and discussing value. I always try to get my kids to bring up the topic we are going to be focusing on. We start by drawing the background with pencil, just drawing wavy lines. Then we get busy with paint. They paint the top section with plain blue, then one person at the table mixes in a little bit of blue to the white. We will be using this for the snow, so try to stress just a little bit of blue. Paint the section on the bottom of the paper, than have another student mix in more blue paint. Students will then paint the next section, repeat till paper is finished.
 Day 2: Shades of green
Fold paper into 4 sections, have students paint one section with plain green. Then have students add black to green and mix and paint the next section.  Repeat until each section is done.
Day 3: Lots of cutting!!
Students will cut the green paper into four sections. I then used templates, and students traced 3 large trees with the light green. Then they used the 2 middle greens to trace as many as medium size trees as possible. Then use the darkest green to trace as many little trees as you can. Then cut, cut, and cut some more. Students will then glue a row of little trees in the back, a row of medium trees next, and then the large trees up front. Use Q tips to make the snow.